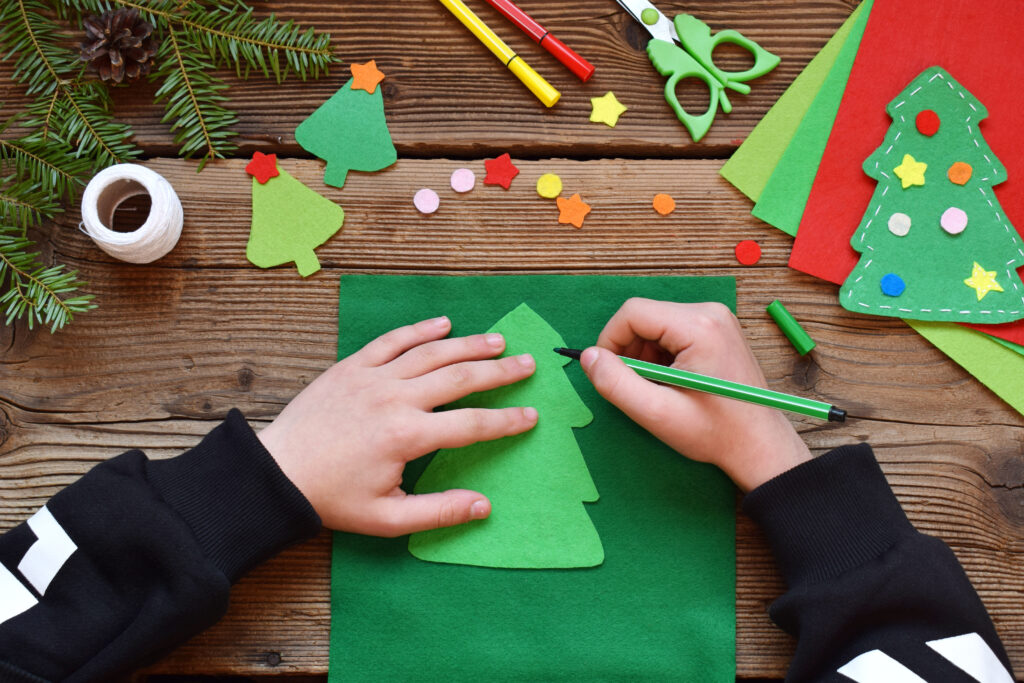
Teaching life skills to students with special needs can be so much fun! I am always looking to incorporate teaching life skills through engaging activities that are fun, yet also challenging.
My students are always excited to do crafts around the holiday season. (Which can lead to a lot of preparation and planning on my part! LOL) This year, I got to thinking…
Planning and preparation are major life skills my students need to practice! What if I put my students in charge of planning and preparing the craft projects for the holidays? This will allow students to do crafts of their choice and take the pressure off of me to choose which crafts to do. Then, I will just have to lead the craft, but wait…
What if I have my students lead the crafts too? Now, they are not only practicing the planning and preparation of the craft, but they are also practicing leading a group, communicating with others effectively, and giving a procedural explanation! I can even incorporate technology by having my students do research for holiday crafts. They could even build a presentation to assist them in leading the craft. Perfect! Life skills and holiday crafts HERE WE GO!
Student Led Craft Project for the Holidays
I implemented this life skills activity for my students with special needs before Thanksgiving break, and they had so much fun! They learned a lot of valuable life lessons as well. This activity also provided me with an opportunity to learn about teaching life skills through project-based learning. At the beginning of December, my students will be doing the project again with holiday crafts. We will be able to see how much they have improved from their previous experience. I plan to have my students do this style of a project with different themes a few more times this year. It will be awesome to witness their learning and growth, and tons of fun for them! Who doesn’t love doing simple crafts!
Repeating projects like this throughout the school year using different themes can give you a great way to assess student growth for students with special needs. In turn, students also feel great about themselves when they get to witness their own growth in life skills. The feeling of accomplishment can be a great self-esteem booster for students in resource room classes!
One thing to keep in mind is I did this activity with my middle school/high school level students in an intense needs resource room. My students in this class have a variety of ability levels. I was able to make modifications and adapt this project to match each student’s ability level. This provided them with the opportunity to have ownership over their project.

How to Implement a Student Led Craft Project
For the purpose of this blog post, this activity is centered around holiday crafts in December. Keep in mind you can do this type of project for crafts any time of the year!
Step 1: Research and Choose a Holiday Craft
The life skill focus for this step is staying on topic and researching a topic of interest.
A few things here… I asked students to stay on topic with the holidays in the month. So for December, they can choose Christmas, Hanukkah, Kwanzaa, New Year’s Eve, etc. We will not be making Valentine’s Day crafts in December!
Allow your students time to research holiday crafts. This may be an area that is new for students in your classroom. I found researching a topic to be quite difficult for some of my students. It can be helpful to provide your students with an example of how to research a topic using keywords. You can also demonstrate how to read through an article to check for timing, supplies, and level of easiness.
After students have spent some time researching crafts, they need to choose one. I requested they ask for teacher approval before moving on to the next step.
A quick tip: If you are working with a younger group of students, or prefer to have more control over the crafts being chosen, you could provide your students a list of “teacher-approved” crafts. This will also allow you to make sure you have the necessary supplies.
Step 2: Make a Supply List
The life skill focus for this step is planning and preparation for an activity.
After students have chosen a craft, it’s time to make a supply list. They can do this on a sticky note, piece of paper, or Google Doc, etc. This is mostly dependent on your comfort level with technology integration. On the list, they should include all the items needed for the craft. If the craft requires a template, they should be sure to list it and print it out. I recommend reminding students to make sure they list enough supplies for each student in the classroom to make the craft.
Once students have made their lists, they need to gather the supplies. If you are comfortable with students looking through your cabinets for craft supplies, I suggest giving them an empty tub and having them gather the supplies independently. For a younger group, you can ask them for the supply list and you can gather the supplies for them. Be sure to ask students to provide you with a list of supplies that are not found in the classroom so you can add them to your shopping list.
A quick tip: You can adjust the type of crafts students choose to meet your readily available craft supplies or what you are willing to purchase for the project. Let students know ahead of time your expectations for usable supplies.
Step 3: List the Directions
The life skill focus for this step is procedural writing or writing directions to complete an activity.
This step can be done in many ways. To save time, you can have students read the directions straight from the article they are using. We did this with our Thanksgiving Crafts, and I found it to be a little confusing for some of my students. Especially, if the craft they chose was from a blog post. This month I am having students type out the steps in a Google Slide Presentation, one direction per slide, to share with their peers as they lead the project. Preparing the presentation ahead of time will help students be more familiar with the steps of the project. (It also targets standards by summarizing informational text.) Students could write out the steps on note cards, paper, or copy and paste them into a Google Doc as well.
Step 4: Practice
The life skill focus for this step is to practice leadership and accept feedback for improvement.
Have students practice reading the steps of the craft. You can do this in several ways:
- Practice with a teacher independently and provide feedback
- Record a video or use FlipGrid to submit a video and provide feedback
- Practice with a partner and allow time for student feedback
A quick tip: I like the video option the best because students can submit the video to you providing evidence they have practiced. You can also provide them feedback in person or online through comments before they lead the craft to their peers.

Step 5: Student Led Crafts
The life skill focus for this step is leadership, effective communication, and responding to questions or clarifying directions.
Here is the chance for students to demonstrate their leadership skills! Have students take turns leading their crafts from start to finish. (I even participated in the crafts as a student! It was a lot of fun to be a student again!) I made sure to ask questions and offer suggestions as needed. It was a great opportunity for students to have ownership of the activity.
At the beginning of the project, I explained to students we would be doing these crafts the week before Holiday Break. I gave them a deadline to have their craft planned, prepared, and practiced so I could provide feedback and give time for students to make changes. Once students completed this part of the project, we looked at my lesson plans and scheduled a time for their craft during the designated timeframe. This allowed us to spread out the crafts throughout the week. As a “buy-in” for the project, I told my students if they did not complete the project by the deadline and get their craft scheduled in my lesson plans, I would have to fill those blocks of time with academic work. LOL
A quick tip: For students with more intense needs, you can provide the level of assistance they need in order to demonstrate leadership and ownership over the activity.
Step 6: Provide Feedback
The life skill focus for this step is to be able to accept corrective feedback or constructive criticism in a positive manner.
After each student completes a craft, it’s important to provide feedback on what went well and suggest areas for improvement. I made a simple rating scale in which I rated each student on the life skill focus for each step of the activity. This is the assessment tool I plan to review with students prior to the next craft project. This tool can also be used to assess student growth.
What I Learned from Student Led Craft Projects
Simple life skill tasks, such as researching a topic of interest or making a list, need to be taught to students with special needs. The life skills that may come easy to us as teachers are not quite so simple for our students. Our students can learn a lot from us about how to navigate planning, preparation, and leadership through fun, engaging activities. After all, those are the skills we must excel in as teachers in order to be effective. Modeling how we accomplish our goals and plan for our classroom is a valuable asset to teaching life skills to students with special needs.
Overall, I was super pleased with this project-based learning activity, and my students loved it! We all learned a lot and it was a great experience for students to take ownership over some classroom activities!
I hope you have the chance to give Student-Led Craft Projects a try!

Check out my TPT Shop for more fun holiday resources!


Need a Holiday Writing Activity? CLICK HERE to check out this blog post for an engaging Reindeer Stroy Writing Activity!
