Teaching writing lessons as a whole group to students of multiple ability levels can be difficult. You want to teach writing activities that are engaging, challenging, and differentiated so all your students can participate, but your students are all so different! Writing ability levels can cross a large range in any classroom depending on your grade and your type of classroom. You may have students who are able to write in complete sentences and students who have limited fine motor skills in the same class. You may have students generating their own ideas and other students who require error-free picture choices to participate. This definitely creates a challenge!
Because I love creative writing, I wanted to find a way for all my students to participate in the same writing activity, but yet still be challenged to the best of their ability. Resources like this are hard to find, so I started creating my own. Over the years, I got better at learning my student’s abilities and how to challenge them. Now, my students enjoy my creative writing lessons and they even think writing is FUN!
Here are the steps I follow to create a differentiated writing lesson in my classroom:
Step 1: Pick a Topic
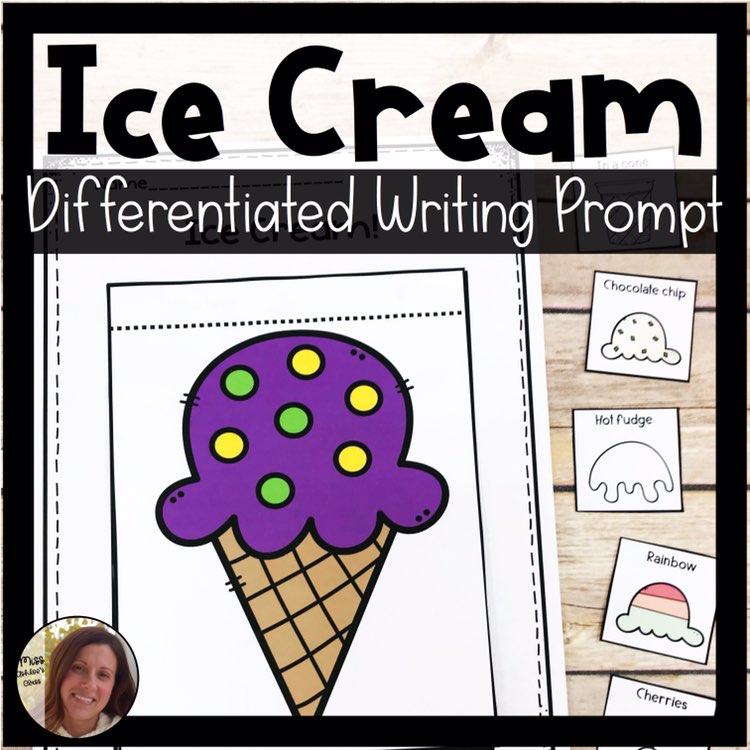
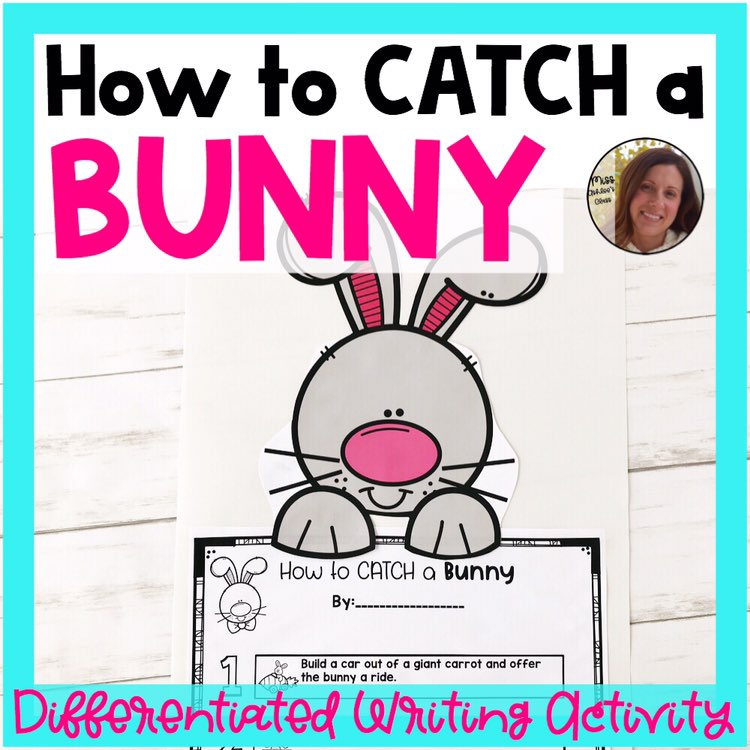
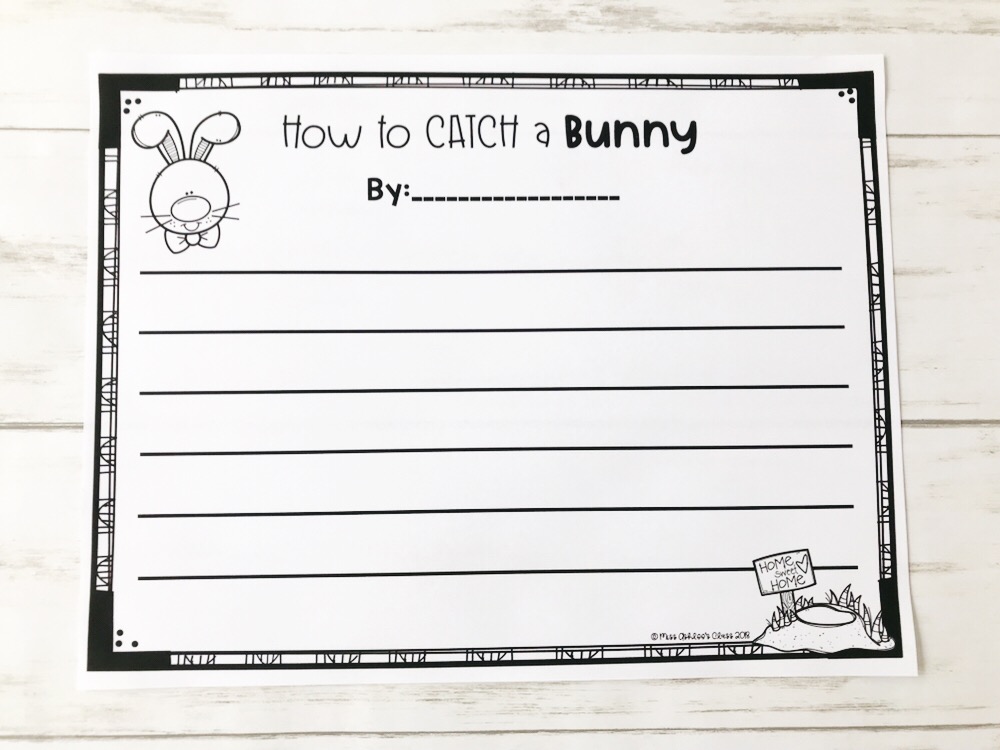
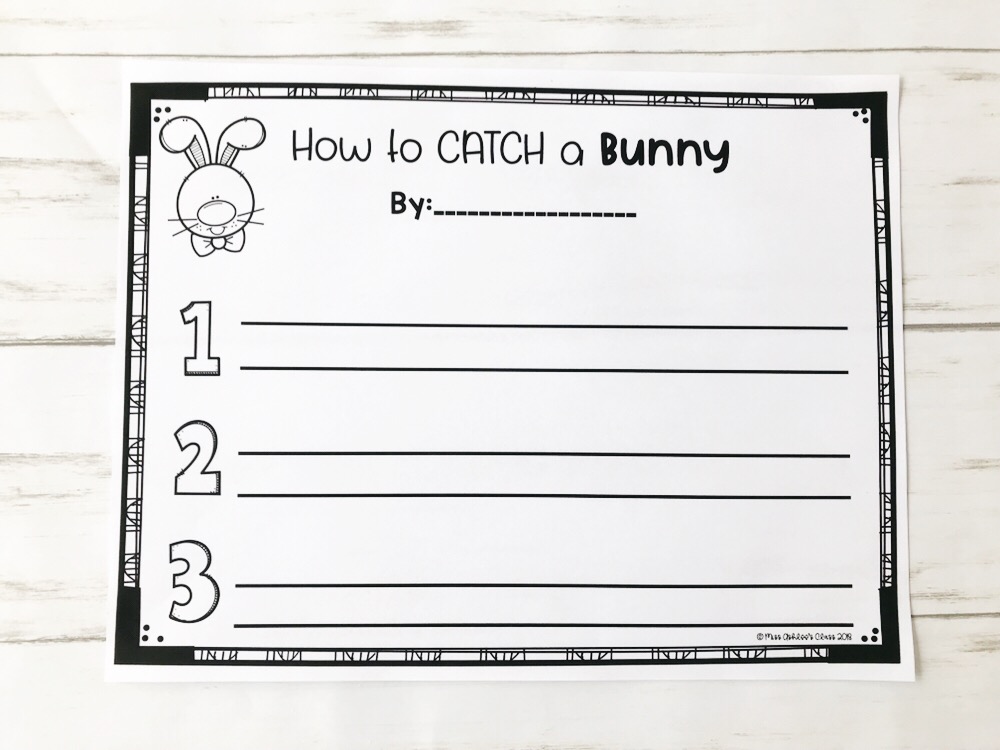
Before you create any writing activity you have to have a topic! This, of course, is the easiest step. I tend to lean towards silly topics like “How to Catch a Bunny”, or simple prompts such as “My favorite thing about ice cream is…” 🙂 But the bottom line is, whatever your focus for the lesson may be, you need a topic!

Step 2: Group Students by level of support
Start by making a list of your students and their ability levels. Write down the supports each student may need to answer a writing prompt. I typically start with students who need the least amount of support and work my way up to the students who need maximum support. If you are a visual person, it can be helpful to create a spreadsheet of your students. Then list different supports you use in your classroom. However you create your list, you want to make sure you are separating your students into groups.
Now, keep in mind, when I say “break up your students into groups” I ONLY mean on paper. After I have created all my different versions and I am ready to go, I teach the lesson as a whole group lesson. We discuss the topic together, brainstorm together, and go over instructions together. The differentiation comes in when I pass out the writing prompt papers. We are still all working together and discussing the topic as a group, but students are working on the version that is appropriate for the level of support they need to be successful.
Okay, now back to grouping… I break up my student list into 3 Groups:
Group 1 – Developed Writers
These are the students who need minimal support. Students in this group are able to write using complete sentences, with minimal errors. They are able to use correct capitalization and punctuation, or they are able to use a writing checklist to correct errors. These students are working on writing a simple paragraph (2-3 sentences) on topic to answer a writing prompt. Students in this group are using a spelling dictionary and writing checklist independently.
Group 2 – Emerging Writers
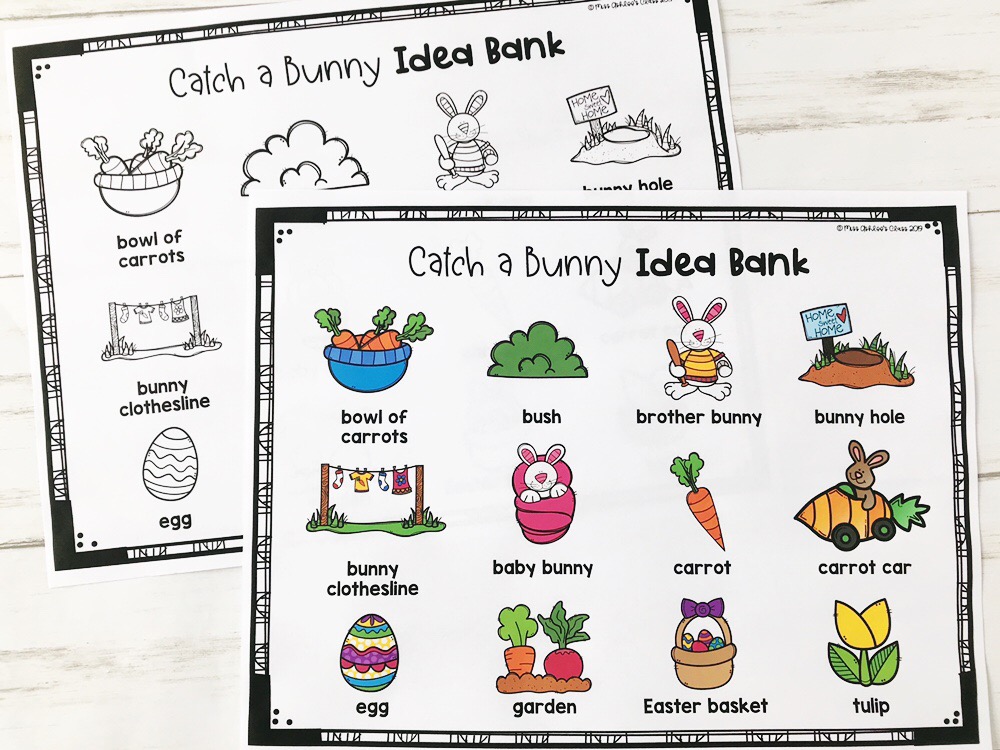
These students need a moderate level of support. Students in this group need sentence starters or complete the sentence style writing. They need numbered lines when writing a sequence of events. Some students are able to generate their own ideas to answer a writing prompt, but may have difficulty writing complete sentences with proper sentence structure, correct capitalization, punctuation, and spelling. Students in this group should be able to develop an idea using a word bank or idea bank related to the topic.
Group 3 – Non-Writers
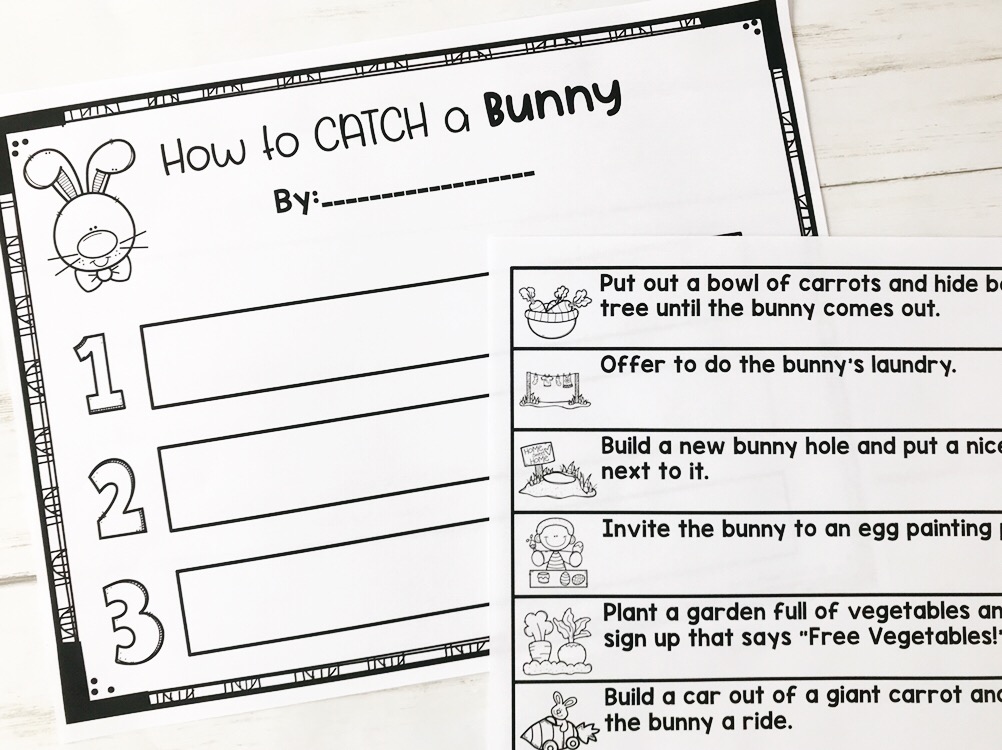
These students need maximum level of support. Students in this group have limited fine motor skills making it difficult to use correct letter formation and spacing. This group is appropriate for students who are non-verbal and use AAC devices or picture support for communication. Students in this group have may difficulty generating independent thoughts to answer questions and require error-free, picture-supported choices to participate.
Step 3: Create Version 1 for your Developed Writers
Once you create the first version of your writing prompt, you can duplicate it, and add appropriate supports with each additional version you create. This version is the highest level of differentiation for your class. Students who use this version may just need a blank sheet of writing paper and the writing prompt. Maybe you add a small picture at the top for some picture support.
Step 4: Duplicate and Create Additional Versions
Version 2 is for your Emerging Writers
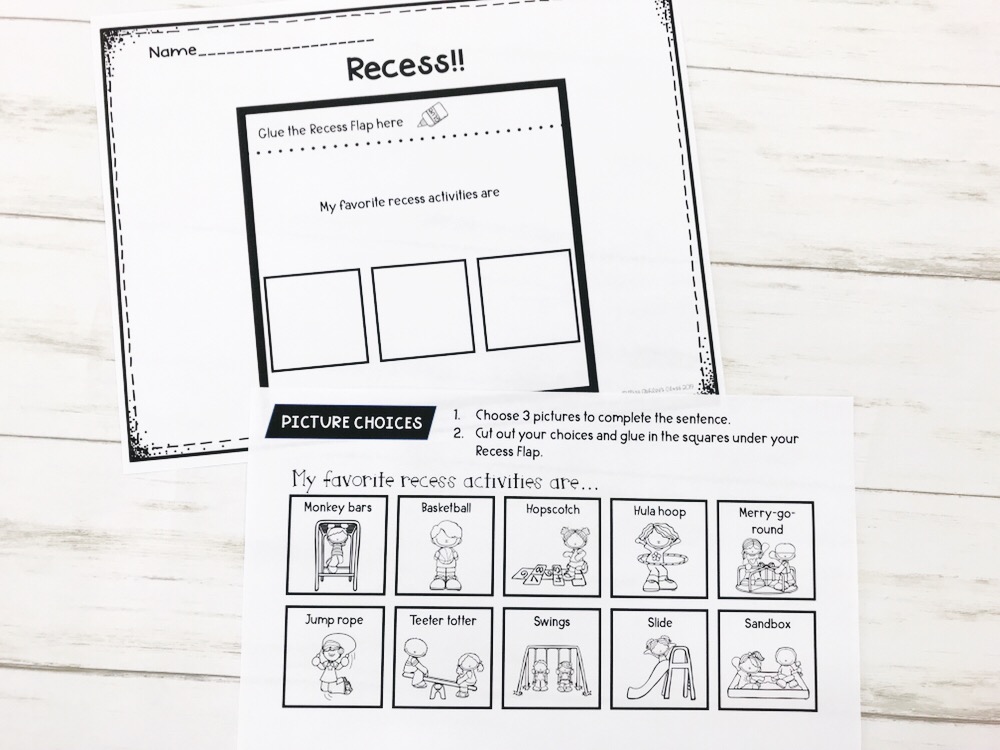
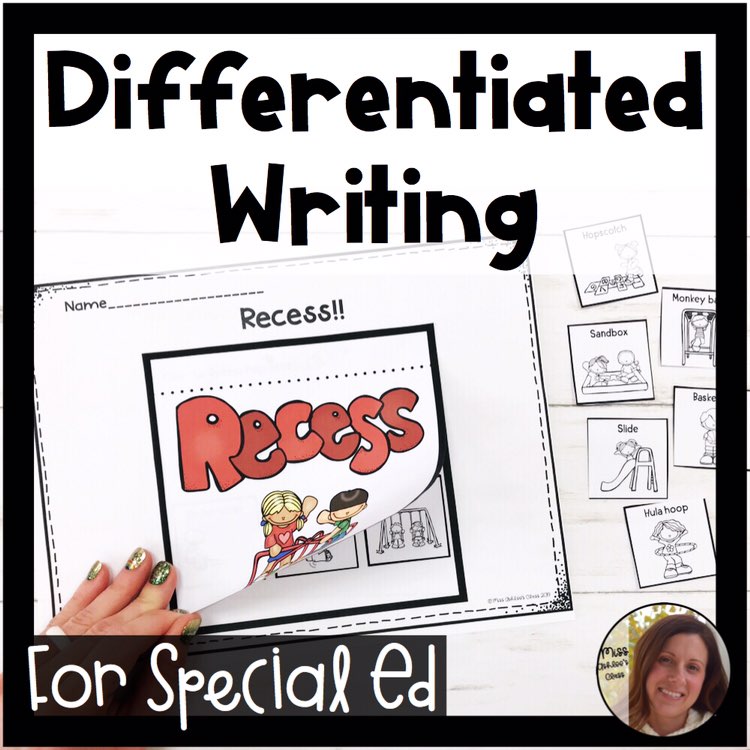
Give the same writing prompt or question and add support. You can add a small word bank for students to use for ideas or correct spelling. This is the version where you might provide a sentence starter or fill-in the blank style prompts, such as “My favorite recess activity is … I like this activity because…” This version gives students a way to complete the same prompt as their peers, but with support.
In some classrooms you may have students who are able to verbally provide an answer to the writing prompt (either by speaking or using an AAC device), but unable to write the answer due to limited fine motor skills. If they can verbally give you the answer, then you can write the answer with a highlighter and have them trace it the best they can. Even if their tracing is not legible, it provides these students the opportunity to participate and practice their fine motor skills. You could also give them the option to type the answer on the computer or any other device they are comfortable with.
Writing checklists, spelling dictionaries, and picture-supported word banks are all great examples of support for this version. CLICK HERE for a Free Writing Checklist Bookmark I use in my classroom.
Version 3 is for your Non-Writers
This version is for students who need a maximum level of support to complete writing activities. With this version, you provide error-free, picture-supported answer choices, and fill-in the blank questions. If you do not have access to a picture symbol program you can easily insert images onto a worksheet using Google Slides (Click Here for a quick video tutorial). Providing picture choices in cut/paste format also gives these students the opportunity to strengthen fine-motor skills.
How many versions of each writing activity you create is solely based the the needs and abilities of your students. Sometimes you may need more, sometimes less, but the goal of this grouping system is to create a differentiated writing lesson you can do as a whole group. I hope this helps you organize and create some awesome, writing lessons for your students! Thank you for reading!

If you are interested in checking out some of my differentiated writing lessons:
CLICK HERE to gain access to my Free Resource Library and download this Recess! FREEBIE!
Or check out more resources in my TPT Shop!